Arduino and Processing
No, they're not two ice cream flavours, but wouldn't it be cool?


Arduino and Processing are two tools that can be used together in some interesting ways, allowing a developer to do things that he/she couldn't do before in a fairly simple way.
In order to demonstrate this in class, we've tried out some examples found on the Processing library "Arduino (Firmata)" that we had downloaded previously.
In order to play with our first example you'll require
- Arduino program
- Processing program
- Arduino Firmata Library on Processing.
- Arduino StandardFirmata.
- A USB wire to connect computer and Arduino Board.
- An Arduino Board (we used Arduino UNO, but there are others available).
- Some sort of digital output element (we've used LEDs, but you can tinker and play with many others.
- Resistors-Nobody likes getting their electronic components fried or dead for voltage overload, right?
- Wires and a Breadboard.
- Little to no experience with experience on Arduino or Processing.
Steps:
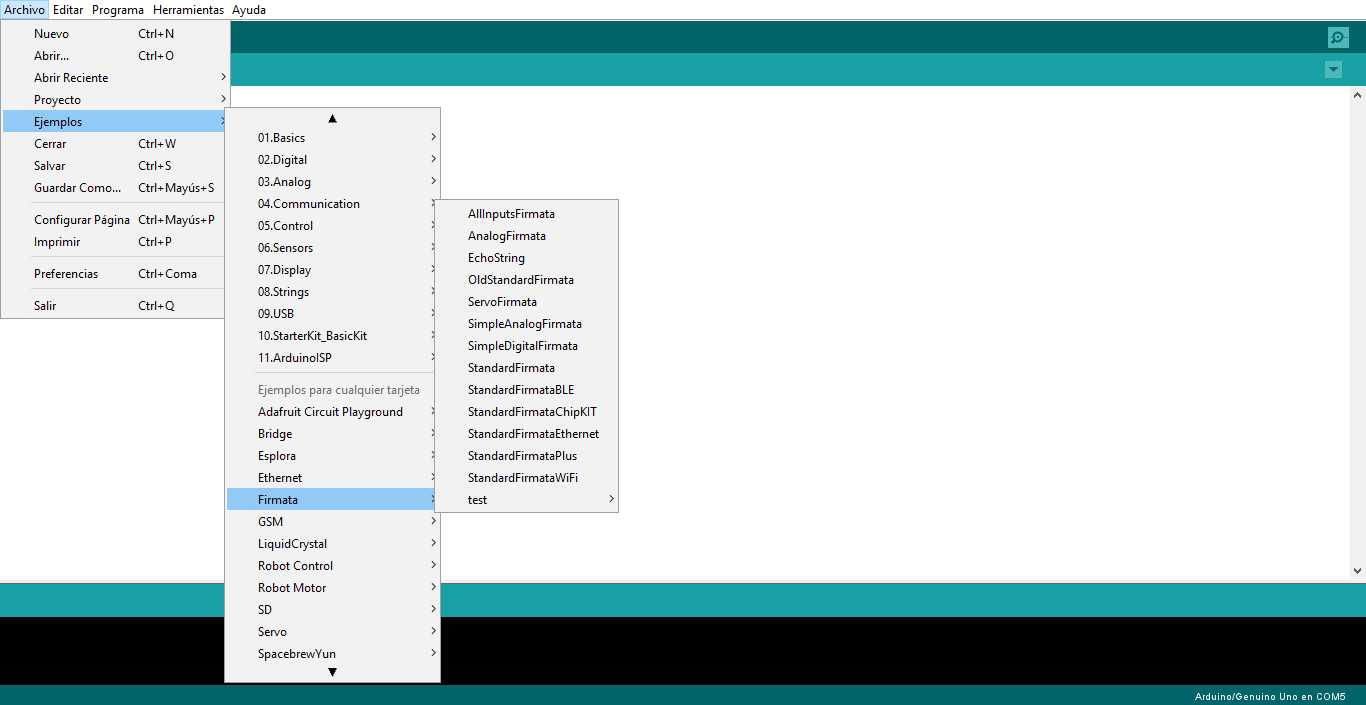
- Open the Arduino environment.
- Open the tab files>Examples>StandardFirmata
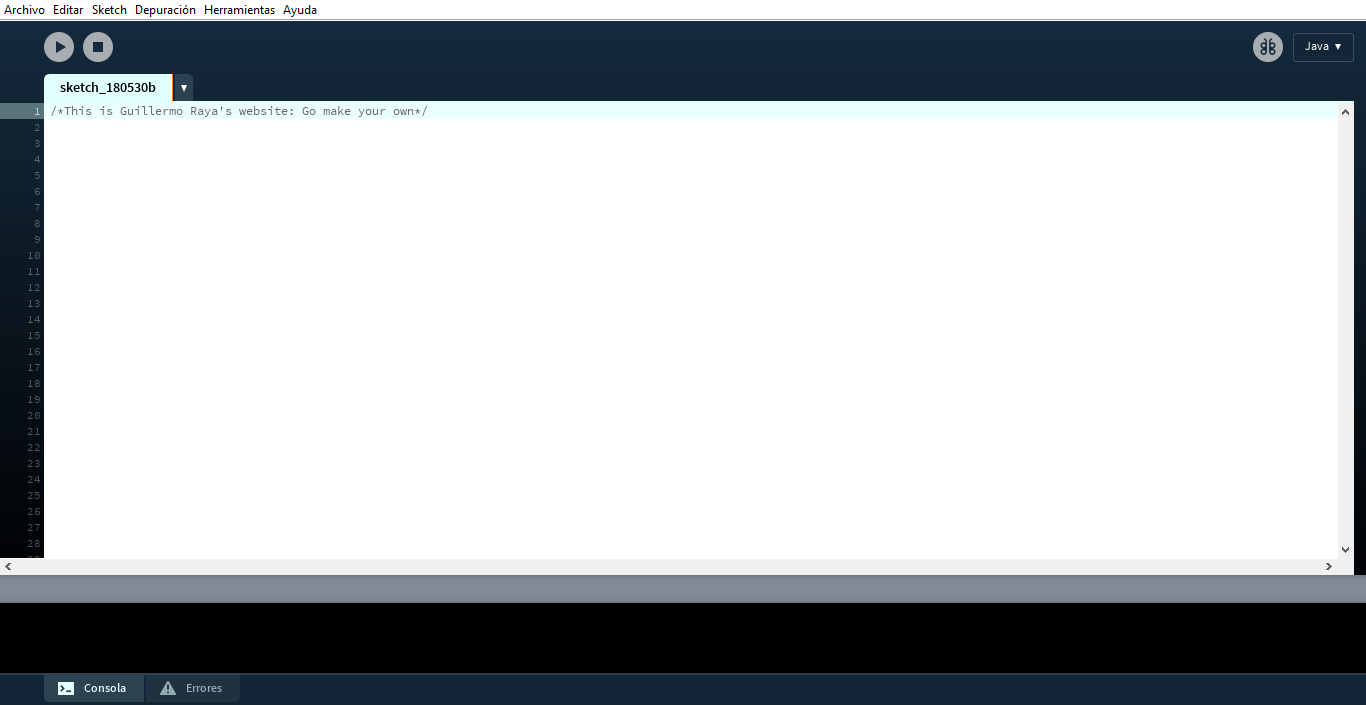
- Connect your Arduino board to the computer using the USB wire and compile the program. It should look like this once you're done.
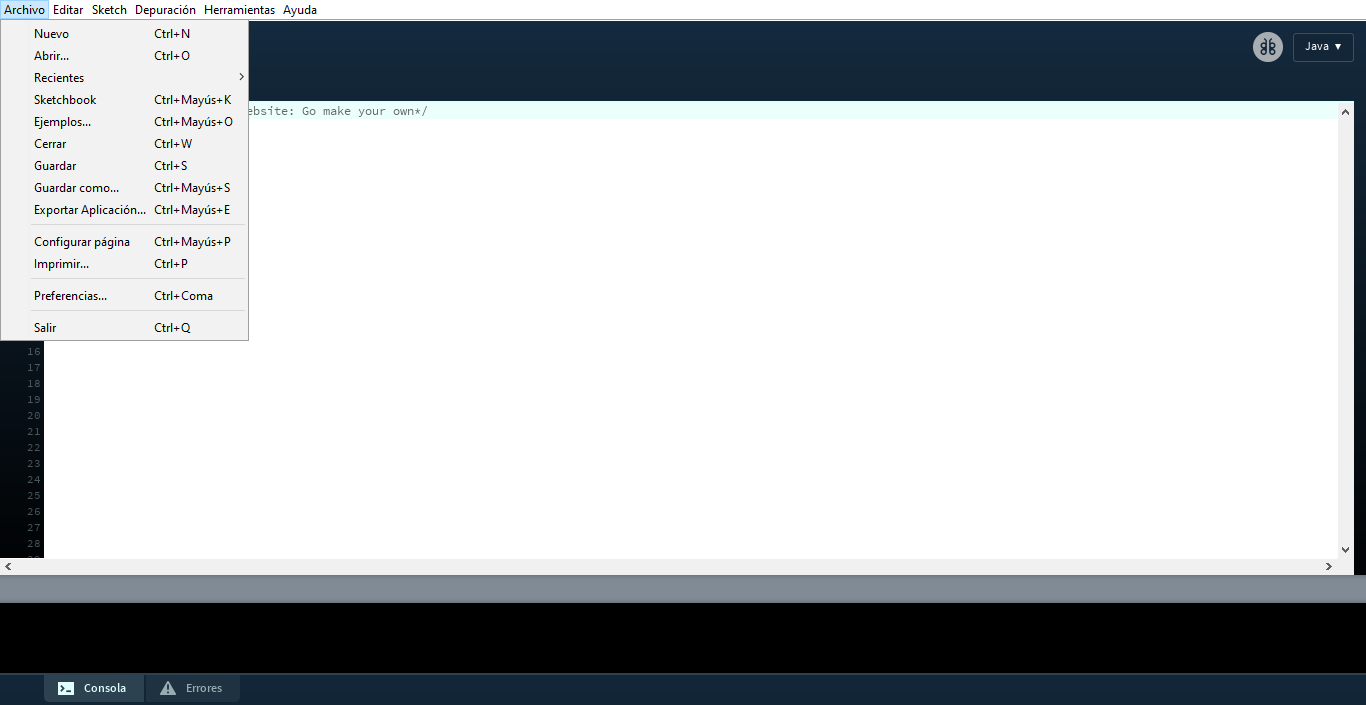
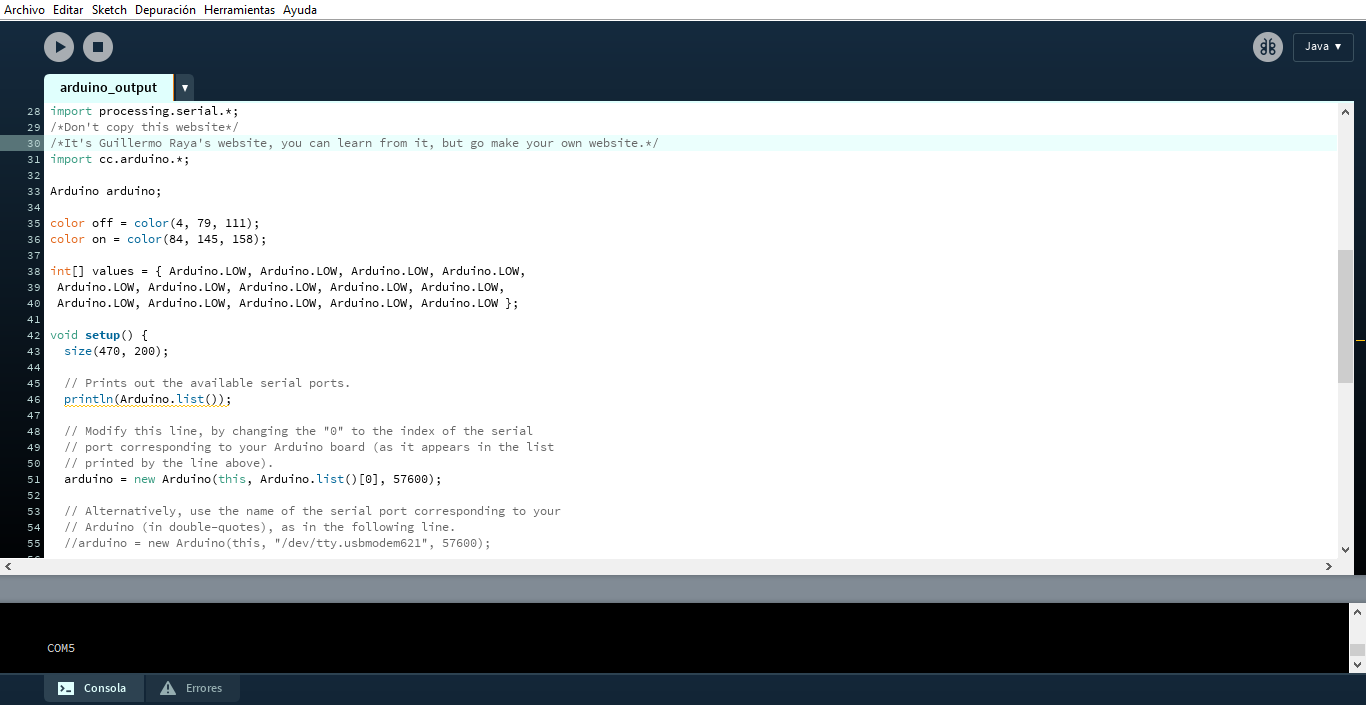
- Open the Processing program.
- Open the tab File>Examples (or Ctrl+Maius+O).
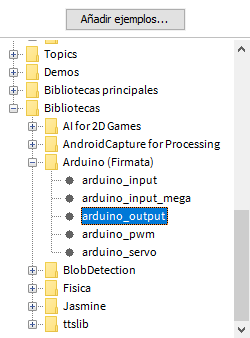
- Inside of the folder "Libraries" you'll find "Arduino (Firmata)". Click there and open "arduino_output".
- Now onto the fun part: let's tinker with our Arduino board. On this example, we'll be able to tell the Arduino to turn on or off the signal on each and every one of the digital output. So you'll have to use your imagination: the easy way to use this is plugging many LEDs in a row onto a breadboard, but I dare you to try different options. Here's an example of what you could do made using TinkerCad. ;P
- Now execute the program, sit back and see what happens.